


Give your car the spotlight it deserves, making it gleam as if fresh from the showroom. Attaining that professional gloss isn't a secret known only to experts. Armed with the right DIY car waxing tips, you can revitalize your car's look and ensure lasting paint protection. Join us on an in-depth journey in this guide, where we unveil professional insights to take your car waxing skills to the next level.
Essential Tools and Products
Before delving into the step-by-step guide, let's gather the necessary tools and products. Achieving that professional gloss for your car involves more than just the right technique; it requires the use of essential tools and high-quality products. Here's a detailed list of the tools and products you'll need to enhance your waxing experience:
Car Wax
Choosing the right car wax is fundamental to achieving a lasting and impressive shine.
- Premium Carnauba Wax: Renowned for its depth of shine and warm glow, carnauba wax is an excellent choice for enhancing the appearance of your car.
- Synthetic Polymer Wax: If durability and protection are your priorities, synthetic polymer wax offers extended protection and a sleek finish.
- Hybrid Wax: Combining the best of both worlds, hybrid wax blends natural and synthetic elements, providing a balance of shine and longevity.
Microfiber Towels
Microfiber towels play a crucial role in the waxing process, ensuring the smooth application and removal of wax without causing scratches.
- Plush Microfiber Towels: Designed for a soft and gentle touch, these towels are perfect for applying and buffing off wax, leaving your car's surface flawless.
- Edgeless Microfiber Towels: With no rough edges, these towels provide a seamless and scratch-free waxing experience, leaving your car with a professional finish.
Applicator Pads
Applicator pads are essential for ensuring an even and controlled application of wax.
- Foam Applicator Pads: Engineered for precision, these pads help distribute the wax evenly across your car's surface, ensuring a consistent shine.
- Microfiber Applicator Pads: Combining the softness of microfiber with the precision of an applicator pad, these are ideal for a smooth waxing process.
Waxing Buffer (Optional)
While hand waxing is effective, a waxing buffer can expedite the process and provide an extra level of shine.
- Dual-Action Orbital Buffer: Designed for ease of use, this buffer is suitable for both beginners and enthusiasts, making the waxing process quicker and more efficient.
- Variable Speed Buffer: For those seeking more control over the buffing process, a variable speed buffer allows you to tailor the buffing speed to your preference.
By utilizing these essential tools and products, you'll enhance your DIY car waxing experience and ensure a professional-level gloss that lasts.
Areas to Focus on While Waxing
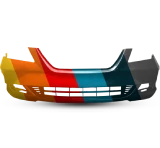
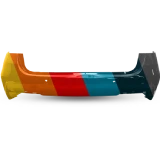
When polishing and waxing your car, ensure comprehensive coverage for a uniform shine. Pay special attention to high-impact areas such as the hood, fenders, and doors, where scratches and imperfections are commonly visible. Please keep in mind the painted rear bumper, as well as the roof, trunk, side panels, exterior trim, and windows, to achieve a polished and protected finish across all surfaces.
Pay attention to these parts of the car:
- Hood: Begin with the hood, ensuring even coverage for a consistent shine.
- Fenders: Pay attention to fenders, addressing any scratches or imperfections.
- Doors: Wax doors thoroughly, keeping an eye on intricate areas.
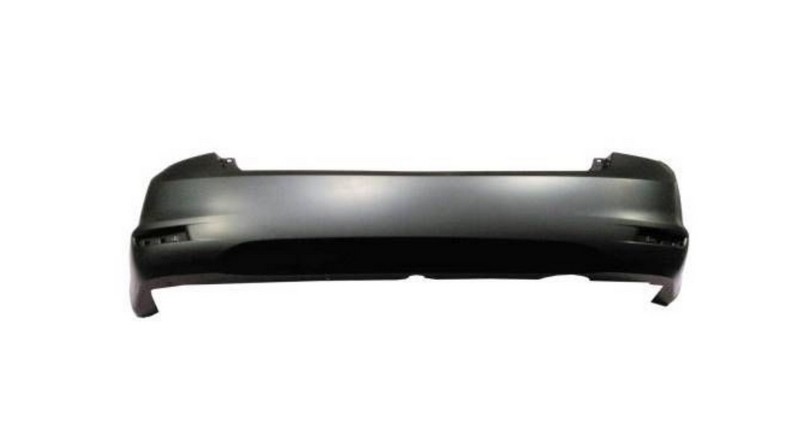
- Painted Rear Bumper: Extend the gloss to the rear bumper for a cohesive look.
- Roof and Trunk: Cover the roof and trunk areas, maintaining a uniform shine.
- Side Panels: Don't overlook side panels, ensuring complete coverage.
- Exterior Trim: Wax exterior trim pieces to enhance the overall aesthetic.
- Windows: While not waxed, clean windows for a clear, polished look.
By incorporating these pro tips into your car maintenance routine and focusing on specific areas during waxing, you can extend the life of that professional gloss and keep your vehicle looking stunning.
Step-by-Step Guide to DIY Car Waxing
Embark on a quest for that showroom-worthy gloss for your car through our distinctive and comprehensive step-by-step guide. Elevate your DIY car waxing experience with these expert tips:
1. Car Wash Ritual:
Commence the journey with a thorough car wash using premium car shampoo. Employ a gentle microfiber wash mitt to eradicate all dirt, grime, and contaminants without leaving a scratch. A pristine surface sets the stage for a triumphant waxing session.
2. Inspect the Paint:
Conduct a thorough assessment of your car's paint surface. Identify any existing scratches, swirl marks, or imperfections that may require special attention during the waxing process. This careful inspection sets the stage for targeted wax application.
3. Mask Off Areas:
Unleash your inner artist by using painter's tape to delicately mask off non-painted surfaces such as rubber trims, plastic, and chrome. This precision prevents accidental wax application on sensitive areas, ensuring a focused and secure waxing performance.
4. Choose the Right Car Wax:
Enter the world of car wax armed with knowledge. Choose a car wax that aligns with your car's paint type and addresses specific concerns. Consider whether you need a wax that focuses on scratch removal, enhanced shine, or a balanced combination of both.
5. Apply the Wax:
Execute the waxing process with finesse. Apply a modest amount of wax onto an applicator pad and work in small, circular motions. For those embracing the power of a buffer, set it to a low speed initially to ensure controlled and even distribution.
6. Waxing the Surface:
Focus on small sections at a time, ensuring thorough coverage of the wax. For buffer enthusiasts, keep it moving to avoid heat build-up and potential damage to the paint. This meticulous approach ensures an even and professional finish.
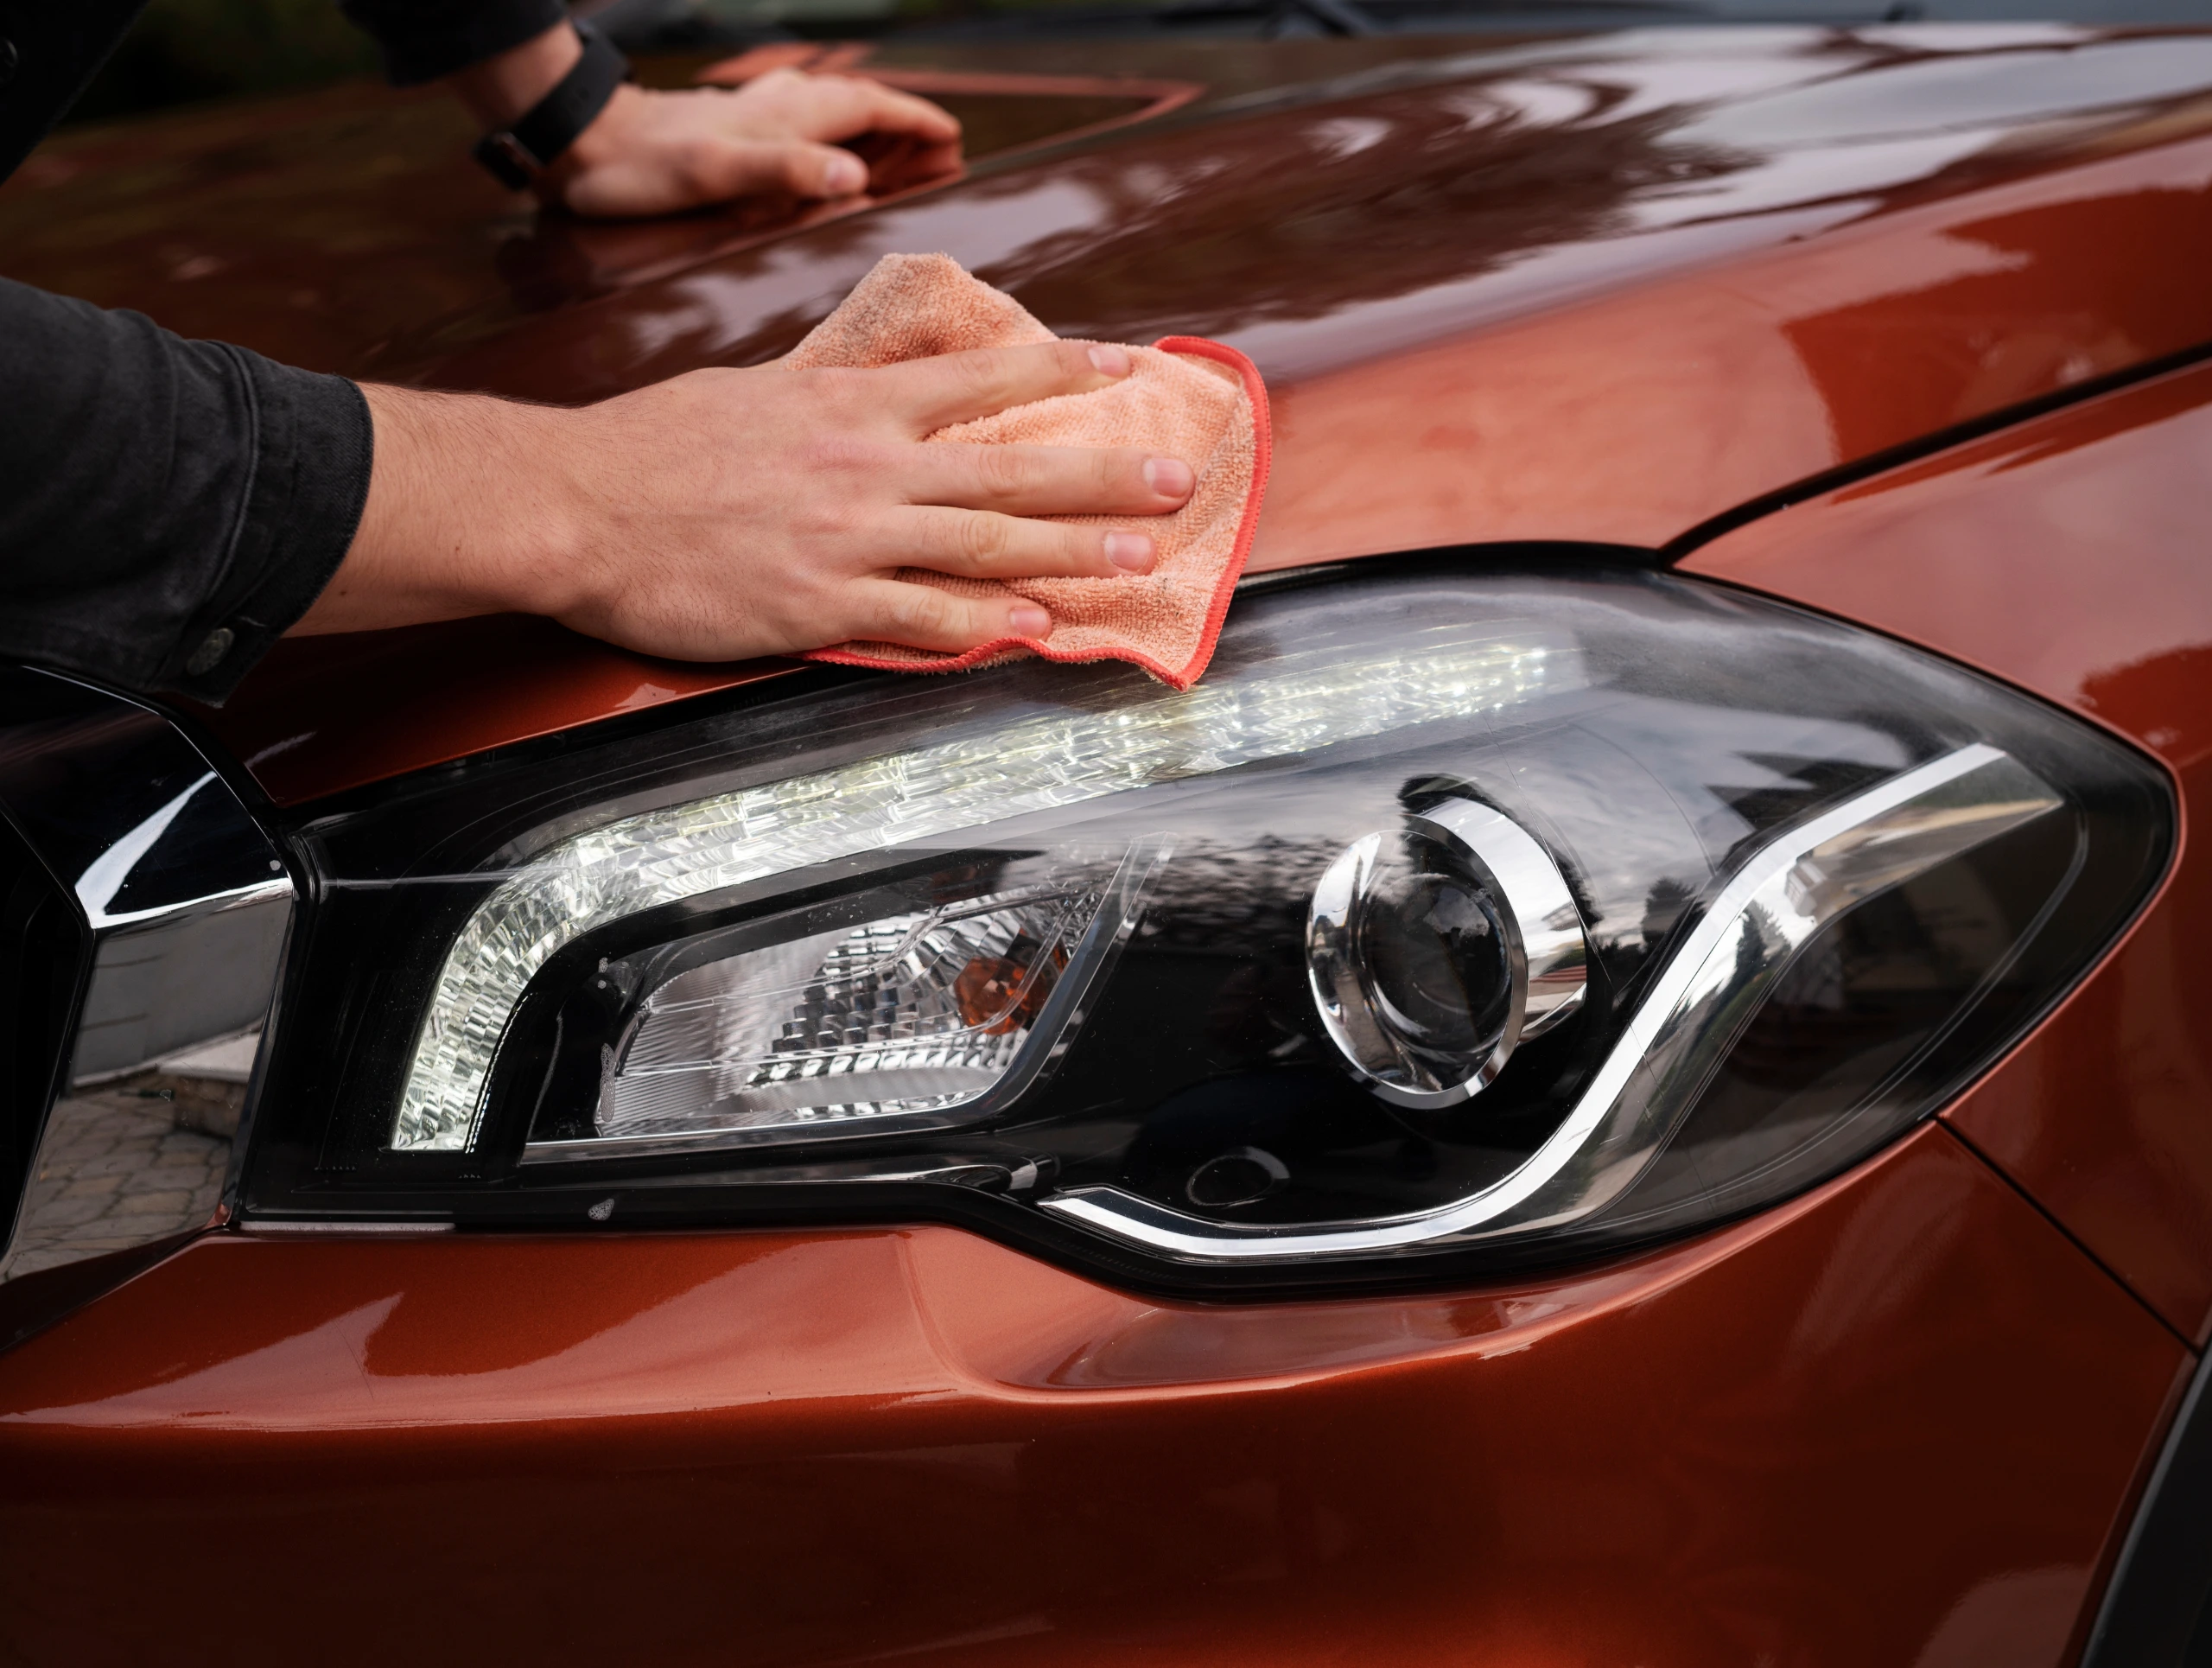
7. Buffing Off the Wax:
Once the wax has been hazed or dried, introduce a clean and dry microfiber towel to the stage. Apply gentle pressure in rhythmic circles to buff off the wax, revealing the heightened shine. Repeat the process until the entire car glistens with a professional gloss.
8. Inspect Your Work:
Conclude the spectacle with a critical inspection of your work under various lighting conditions. Identify any areas that might need additional attention and reapply wax as necessary. This meticulous inspection ensures a flawless finish.
9. Final Touches:
Bid farewell to any remaining wax residue by wiping down the entire car with a clean, damp microfiber towel. Carefully remove painter's tape from masked areas, revealing the protected surfaces like the unveiling of a masterpiece.
By following these comprehensive steps, you not only achieve a professional gloss for your car but also elevate your DIY car waxing game. Trust Painted Auto Parts for all your car care needs, and let your vehicle shine like never before.
Pro Tips for Maintaining That Professional Gloss
Unveiling the professional gloss for your car is a gratifying journey, yet its preservation demands consistent care and consideration. Take your car care routine to new heights with these expert tips, ensuring your vehicle sustains its showroom brilliance:
1. Consistent Maintenance Ritual:
Infuse regular car waxing into your maintenance routine. Frequent applications not only enrich your car's aesthetic appeal but also create a defensive shield against environmental contaminants. Establishing a consistent waxing schedule is key to preserving your vehicle's pristine appearance.
2. Inspect Your Paint Regularly:
Keep a vigilant eye on your car's paint surface. Regular inspections help identify potential issues early, allowing you to address them promptly. Quick touch-ups can prevent minor imperfections from escalating into more significant problems, ensuring your car maintains a flawless gloss.
3. Use the Right Pressure:
Whether applying wax by hand or using a buffer, it's crucial to use the right amount of pressure. Applying excessive pressure can potentially damage the paint surface. Let the wax do the work, using gentle and controlled pressure for optimal results.
4. Delve into Advanced Protection:
Uncover cutting-edge options such as ceramic coatings for an enduring shield over your car's paint. These coatings not only amplify the glossy allure but also form a robust barrier against diverse environmental factors. Make a worthwhile investment in a high-quality coating to extend the lifespan of your car's professional gloss.
5. Shade Mastery:
Achieve optimal waxing results by steering clear of direct sunlight. The sun's influence can disrupt the application process, potentially yielding uneven outcomes. Opt for a shaded workspace to ensure your car basks in consistent and desirable results.
6. Experiment with Techniques:
Don't hesitate to experiment with different waxing techniques. Understanding what works best for your specific paint type and finish can lead to more tailored and effective results. Explore different application methods, pad types, and waxing motions to refine your approach and achieve the ultimate gloss.
By incorporating these pro tips into your car maintenance routine, you can extend the life of that professional gloss and keep your vehicle looking stunning.
Conclusion
In conclusion, obtaining the coveted professional gloss for your car transcends mere aesthetics – it's a dedication to safeguarding your vehicle's paint and preserving its beauty. By adhering to our comprehensive DIY car waxing tips and utilizing high-quality products, you embark on a journey of satisfaction that culminates in a showroom-worthy shine.