


A pristine paint finish defines a vehicle's appearance, protects its body panels, and reflects the owner's commitment to proper maintenance. However, even cautious drivers encounter paint chips caused by debris, weather, or routine wear.
Ignoring these small imperfections allows oxidation to spread beneath the paint, weakening metal panels and reducing resale value. Knowing how to fix paint chips on your car correctly ensures long-term protection and restores a factory-like finish.
Understanding the science behind automotive coatings, the correct tools to use, and each repair step is what separates a professional-grade result from an amateur patch.
Key Takeaways:
- Paint chips expose bare metal, leading to corrosion if left untreated.
- Proper cleaning, surface preparation, and primer use ensure long-lasting repairs.
- Color-matched touch-up paint is essential for seamless blending.
- Clear coat restoration and polishing create a uniform finish.
- Routine inspection and protective measures prevent new chips from forming.
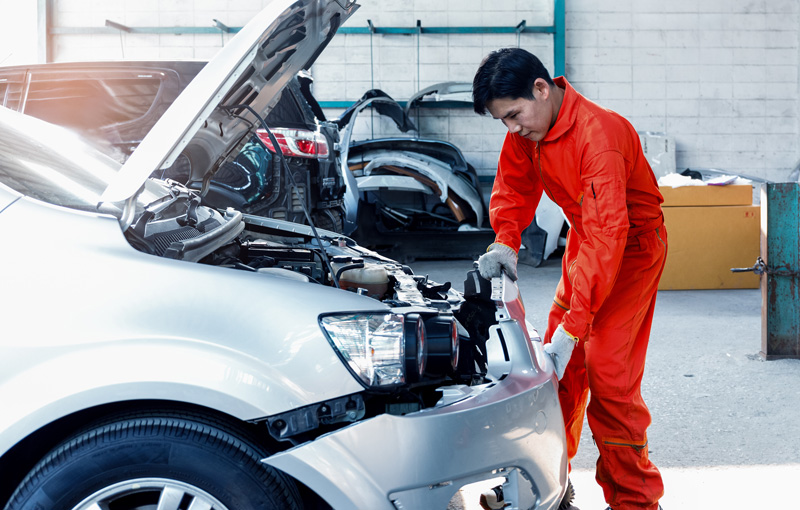
Importance of Maintaining a Car's Exterior
The exterior finish of a vehicle serves as both its visual identity and its shield against environmental stressors. Modern automotive paint systems use multiple layers: primer for adhesion and corrosion prevention, basecoat for color, and clear coat for UV resistance and gloss retention. Each layer functions as part of a protective ecosystem that safeguards the metal beneath.
When the top layers are compromised, oxygen and water molecules begin to react with the exposed steel or aluminum, forming rust. This corrosion spreads microscopically under intact paint, eventually leading to bubbling or flaking. Even small chips can escalate into costly damage if ignored for months.
Maintaining your car's exterior extends beyond appearance - it directly influences structural integrity and resale value. Regular washing using pH-neutral automotive shampoo prevents acidic residues from dulling the finish, while applying wax or ceramic coating adds a hydrophobic layer that repels contaminants.
Many professional detailers recommend a quarterly inspection under direct sunlight to spot early paint damage. Early intervention allows for simple, inexpensive fixes before corrosion sets in.
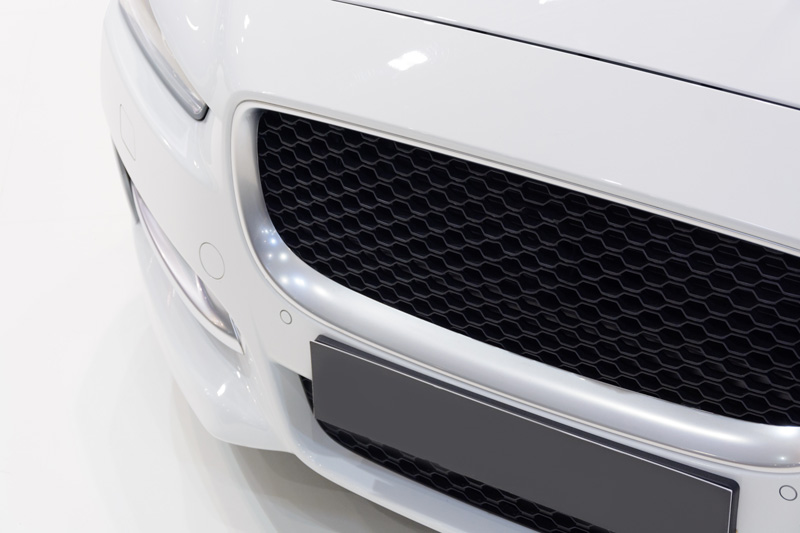
What Are The Common Causes of Paint Chips?
Paint chips form due to physical impact, temperature fluctuation, and chemical exposure. Understanding these causes helps car owners prevent them effectively and maintain the vehicle's original finish longer.
Here are some of the most common causes you should know:
- Road debris: Small stones, gravel, and sand projected by tires strike the surface at high velocity, especially during highway driving.
- Environmental stress: Repeated cycles of heat and cold cause paint layers to expand and contract, eventually cracking at weak points.
- Improper washing techniques: Using abrasive brushes or dirty rags grinds particles into the surface, creating micro-abrasions that expand into visible chips.
- Vehicle proximity: Following trucks too closely or parking near construction zones increases exposure to debris.
- Minor collisions or door impacts: Parking-lot dings and careless door openings can chip edges and corners, where paint adhesion is naturally weaker.
Applying paint protection film (PPF) or ceramic coating helps minimize new damage by absorbing minor impacts and providing a barrier against contaminants. Regular detailing with high-quality microfiber cloths and lubricated washes further reduces friction-induced paint wear.
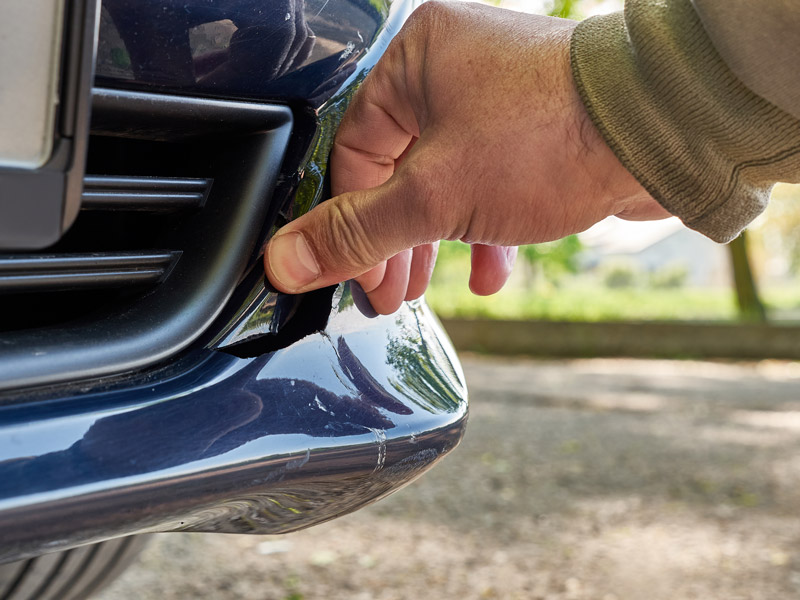
How to Properly Assess the Damage?
Before beginning repairs, evaluating the extent of the damage ensures the right materials and process are chosen. Paint chips vary from superficial clear-coat scratches to deep craters exposing bare metal.
Start with a visual examination under bright, natural light or a detailing inspection lamp. Shallow chips usually appear white, cloudy, or slightly dull, while deeper chips expose primer or metallic tones beneath. If rust is visible - even a faint orange tint - oxidation removal becomes essential before applying new paint.
Run your fingertip lightly across the area. A rough or raised edge indicates flaking clear coat around the chip, which must be smoothed before repainting. For larger or multiple chips, measuring depth with a digital paint thickness gauge can help determine if sanding is required.
If multiple chips cluster on one area, such as the hood or front bumper, consider using aerosol or brush-blend techniques for more uniform coverage rather than individual spot touch-ups.
How to Repair Paint Chips on Your Car?
Repairing paint chips is a step-by-step process that demands precision, patience, and clean working conditions. With the right tools and products, you can achieve near-professional results at home.
1. Preparation and Cleaning
Thorough preparation defines the quality of the finish. Wash the area using a dedicated automotive shampoo to remove wax, tar, and road film. Dry completely with a microfiber towel. Next, wipe the damaged spot with 70% isopropyl alcohol to eliminate oils that may prevent primer adhesion. Mask the surrounding area using painter's tape to protect intact paint.
2. Rust and Surface Treatment
If bare metal or rust is visible, treat it with a fine abrasive pad or 2000-grit sandpaper until the surface feels smooth. Apply a small amount of rust converter or corrosion inhibitor. This converts any residual oxidation into a stable compound and stops further deterioration.
3. Primer Application
Use an automotive-grade primer compatible with your paint system. Apply it carefully with a fine-tip applicator or microbrush, focusing only within the chip boundaries. Let it dry for at least 30 minutes or as specified by the manufacturer. The primer seals the surface and improves paint adhesion.
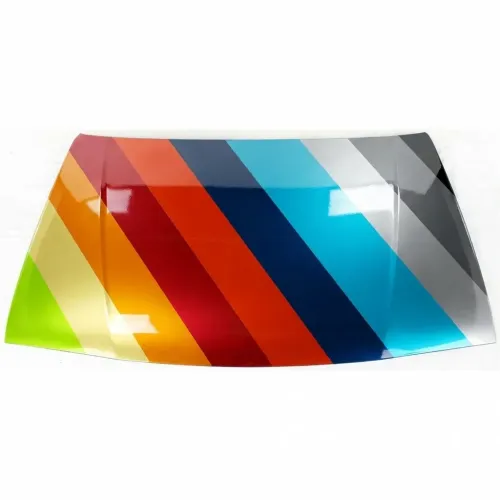
4. Color Layer (Touch-Up Paint)
Locate the correct paint code for your car, typically found on the driver's door jamb, glove box, or owner's manual. Purchase OEM or professionally matched touch-up paint to ensure consistency with your factory finish. Apply small amounts with a toothpick, paint pen, or microbrush - thin layers prevent uneven buildup.
Allow each coat to dry for 20 to 40 minutes before applying the next. Depending on the chip depth, two to four layers may be required to reach flush level with surrounding paint.
5. Clear Coat and Curing
Once the color is even, apply a clear coat to protect the new paint and restore gloss. Choose a UV-resistant, fast-drying formulation. Apply in light layers to avoid runs or cloudiness. After completing this step, allow the area to cure undisturbed for 24 to 48 hours.
6. Sanding and Polishing
When the paint fully hardens, wet-sand the repaired area with 2500- to 3000-grit paper wrapped around a soft block. Maintain light pressure and keep the surface lubricated with water. The goal is to level the edges between new and original paint, not to remove layers.
After sanding, use a fine polishing compound and a dual-action polisher to restore full gloss. Finish with a high-quality carnauba wax or ceramic coating to seal the surface.
Repair kits containing primer, paint, and clear coat simplify the process for beginners, while advanced users may prefer separate professional-grade products for finer control. Always work in a dust-free environment, away from direct sunlight or wind.
Final Thoughts
Fixing paint chips requires methodical effort, proper materials, and an understanding of paint chemistry. Each step - from surface cleaning to final polishing - directly affects longevity and visual quality. Well-repaired chips maintain the integrity of the vehicle's paint structure, prevent corrosion, and enhance overall appearance.
For drivers seeking precise color matches, durable touch-up materials, and professional-grade finishes, PaintedAutoParts.com offers an extensive range of ready-to-install painted body parts and paint-matched accessories.
Our products are color-matched to OEM specifications and designed to restore factory aesthetics with minimal effort. Whether replacing bumpers, mirrors, or panels, their quality control ensures that every part fits seamlessly and retains a consistent finish.
Relying on trusted suppliers ensures that vehicle owners receive components designed for longevity, proper paint bonding, and reliable corrosion resistance - an essential foundation for any long-term repair strategy.
A disciplined approach to paint maintenance combined with premium materials preserves your car's original beauty and value for years to come.
Frequently Asked Questions
What tools do I need to repair paint chips effectively?
- Essential tools include fine-grit sandpaper (2000–3000), primer, color-matched touch-up paint, clear coat, microfiber towels, painter’s tape, and polishing compound.
How can I prevent paint chips from reappearing after repair?
- Apply ceramic coatings, maintain safe driving distance on gravel roads, and wash the vehicle using soft mitts. Regular waxing further minimizes impact damage.
Can professional detailing remove existing chips?
- Detailing corrects minor surface flaws but cannot fill missing paint. True chip repair requires reapplication of primer, basecoat, and clear coat for full restoration.