


Painting car parts combines precision, preparation, and product knowledge. Whether restoring faded panels or customizing trim, the right approach ensures a professional finish. Many drivers attempt this task at home, but without proper steps the results often look uneven or wear out quickly.
This guide explains every stage of painting from understanding materials to final curing so you can achieve durable, showroom-quality results.
Key Takeaways:
- Different car parts and materials require tailored painting methods.
- A clean, ventilated, and organized workspace is essential for quality results.
- Safety gear protects against hazardous fumes and overspray.
- Proper surface preparation, including cleaning, sanding, and priming, ensures paint adhesion.
- Correct paint type and curing process determine durability and finish quality.
By mastering these elements, you can extend the lifespan of your paint job and avoid costly professional corrections.
Understanding the Types of Car Parts to Paint
Different car parts require different painting methods because of their placement, exposure, and material. Exterior panels face constant sunlight, rain, dirt, and road debris, which demands durable coatings with strong adhesion.
Interior parts, on the other hand, need finishes that resist wear from regular contact and remain stable under fluctuating cabin temperatures. Metals, plastics, and composites each respond differently to primers and paints, which means preparation and product choice must be tailored for each surface.
The sections that follow break down these differences so you can match the right technique to every part.
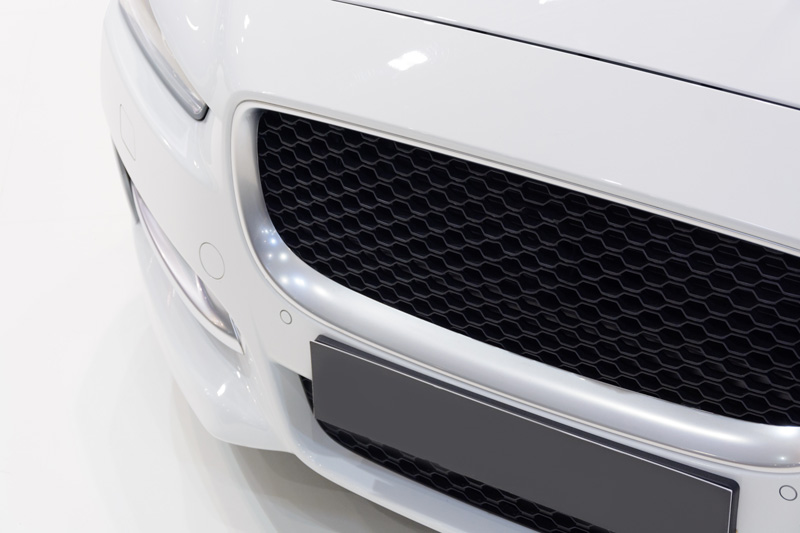
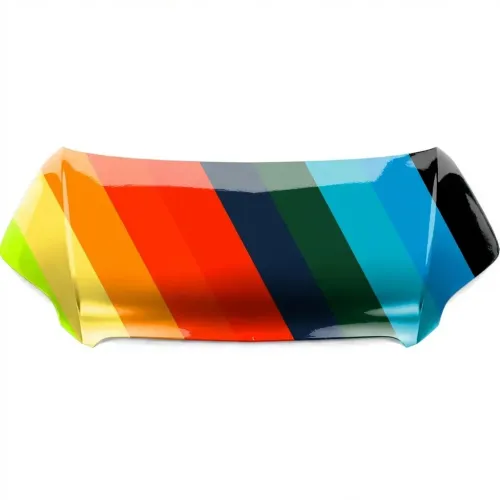
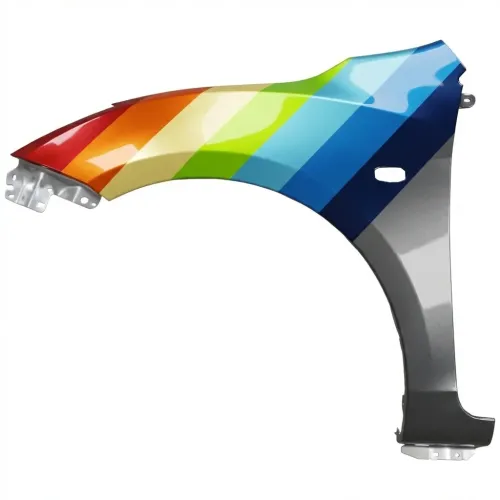
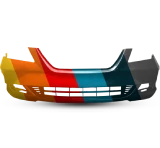
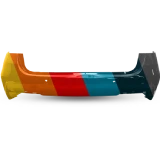
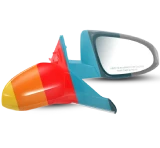
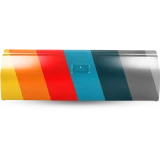
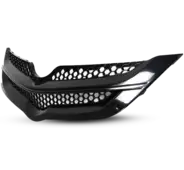
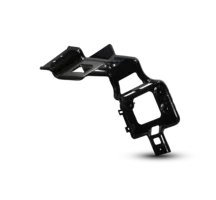
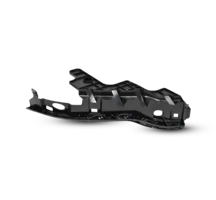
Exterior parts (e.g., bumpers, fenders)
Exterior components face constant exposure to sunlight, moisture, debris, and temperature swings. Painting them requires products with strong UV resistance and flexibility to withstand vibration. Bumpers, hoods, and fenders also demand precise color matching for seamless blending with the vehicle's overall finish.
Interior parts (e.g., dashboard, trim)
Interior surfaces require a different approach. Dashboards, door panels, and trim pieces often consist of plastics with textured surfaces. Paint for these areas must resist fading from sunlight that passes through windows while maintaining a smooth, factory-like appearance. Preparation is critical, as oils and residues inside the cabin can weaken adhesion.
Considerations for different materials (metal, plastic, etc.)
Metals, such as steel or aluminum panels, accept paint best after sanding and priming with anti-corrosion products. Plastics need adhesion promoters because their slick surfaces resist bonding. Fiberglass or composite parts must be sealed properly to prevent solvent absorption that can cause blistering. Choosing techniques specific to each material ensures lasting durability.
How to Prep your Workspace?
Painting success depends heavily on the environment in which the work is done. Dust, poor lighting, or insufficient ventilation will compromise the finish no matter how good the products or skills are.
A proper workspace keeps contaminants under control, provides steady airflow, and ensures that all required tools are within reach. Preparing the environment correctly reduces mistakes and allows for a smoother, more consistent application. The next sections explain how to set up a location that supports high-quality results.
Selecting a suitable location
A controlled environment makes or breaks a paint job. Garages with adequate space provide protection from wind, dust, and insects. Outdoor work risks contamination that becomes permanently trapped in the finish.
Ensuring proper ventilation
Paint products release volatile organic compounds that pose health hazards. Strong airflow with exhaust fans reduces concentration while preventing overspray buildup. Cross-ventilation also improves drying consistency.
Gathering necessary tools and materials
Organizing materials in advance prevents mistakes. Essential items include spray guns or aerosol cans, primers, automotive paints, clear coats, sandpaper in multiple grits, masking tape, protective sheeting, respirators, and gloves. Having everything at hand allows uninterrupted focus during application.
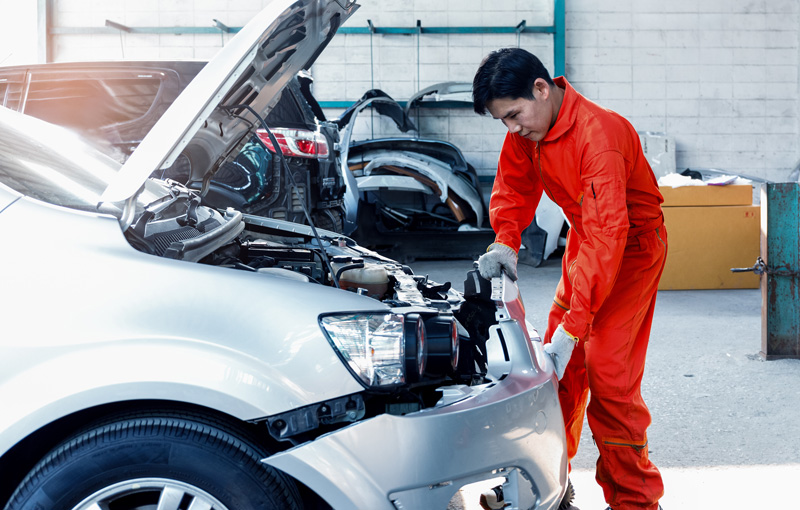
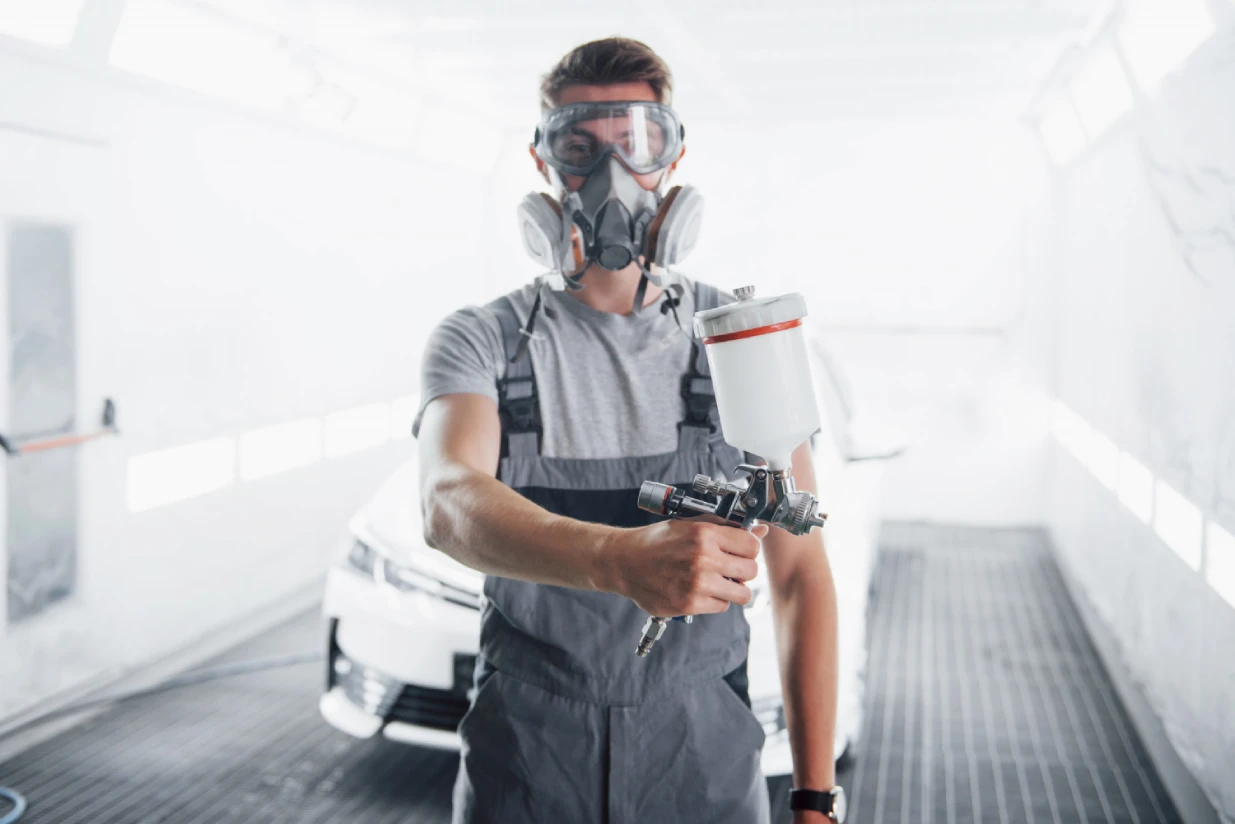
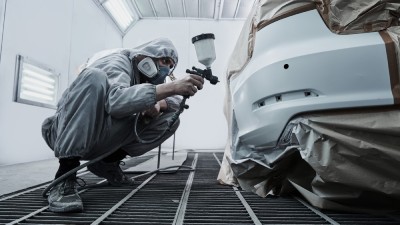
What Safety Precautions Do You Need to Take?
Automotive paints contain solvents and hardeners that irritate skin, lungs, and eyes. Protective gloves, goggles, and a certified respirator reduce exposure. Fire safety also matters, since many products are flammable.
Keeping extinguishers nearby and avoiding open flames protects both the painter and the workspace. Safe storage of leftover chemicals in sealed containers prevents accidental spills and vapor buildup.
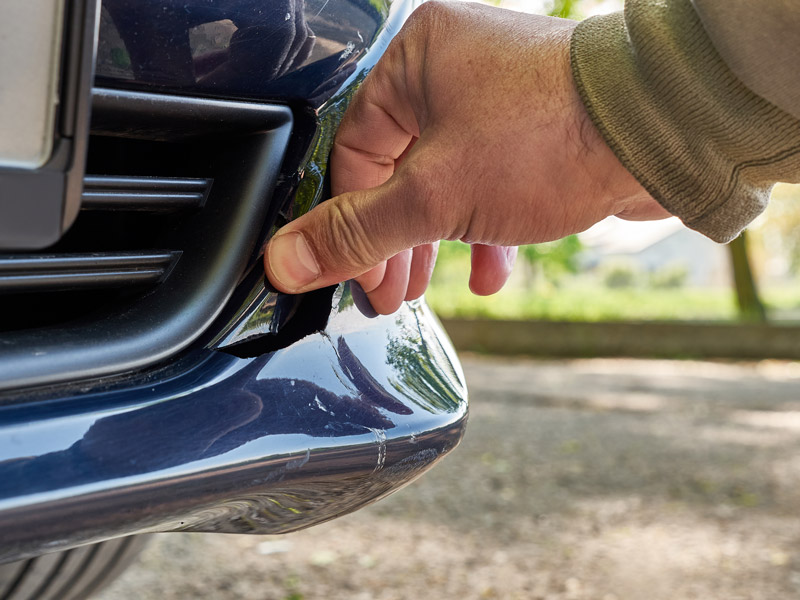
How to Clean and Prep the Car Parts?
Before applying any paint, the surface must be free of dirt, oils, and old coatings that interfere with adhesion. Preparation makes the difference between a finish that lasts for years and one that chips or peels within months.
This process involves thorough cleaning, mechanical abrasion, and proper priming. Each step builds on the last, ensuring the paint bonds firmly and evenly. The following guidance outlines how to complete these stages in the correct order for the best possible outcome.
Removing dirt and grease
Surface cleanliness is the foundation of paint adhesion. Wash each part thoroughly with soap and water, then apply a degreaser to remove oil, wax, and silicone residue. Even invisible contaminants can cause fisheyes or peeling once the paint dries.
Sanding surfaces for better adhesion
After cleaning, sanding roughens the surface to give primer and paint a grip. Coarse grits remove old coatings, while finer papers create smoothness for top layers. The goal is a uniform matte finish without glossy spots. Corners and edges require special attention, as paint tends to peel there if left slick.
Using primer for optimal results
Primer seals the substrate, hides imperfections, and creates a chemical bond for paint layers. For metals, rust-inhibiting primers protect against corrosion. For plastics, adhesion-promoting primers prevent chipping. Applying thin, even coats builds a strong foundation without clogging details or creating runs.
How to Choose the Right Paint?
Automotive paints vary widely in composition. Single-stage paints combine color and gloss in one application, offering simplicity. Basecoat-clearcoat systems, by contrast, involve separate layers: one for color, one for gloss and protection. Acrylic enamels provide durability, while urethane-based paints deliver a harder, more professional finish.
Selecting paint involves balancing cost, ease of application, and performance requirements. Color matching is crucial for exterior parts, while interior paints should prioritize texture and resistance to fading. Always verify compatibility between primers, basecoats, and clear coats to avoid reactions such as lifting or bubbling.
What Do You Need to Know about the Drying and Curing Process?
Paint drying occurs in stages. Initially, solvents evaporate, leaving the pigment layer intact. Full curing takes longer, as chemical bonds strengthen within the paint film. Depending on product type, curing can range from several days to weeks.
During this period, avoid washing the vehicle or exposing freshly painted parts to extreme weather. Proper airflow and moderate temperatures support even curing. For professional-grade results, some workshops use infrared lamps or heated booths to accelerate and harden the finish uniformly.
Final Touches and Maintenance
After curing, applying a clear coat enhances gloss and shields against scratches. Buffing and polishing refine the surface further, removing small imperfections. For ongoing care, regular washing with pH-balanced soap and periodic waxing preserve both color depth and shine.
Interior painted parts require gentle cleaning products to avoid chemical reactions that dull the finish. Avoid abrasive tools, since these can wear down delicate coatings quickly. With proper maintenance, painted surfaces retain a factory appearance for years.
DIY vs. Professional Painted Parts - Which Should You Choose?
Painting car parts at home can be rewarding if you have the right tools, time, and patience. It works best for small interior pieces or non-critical panels where slight imperfections aren't very noticeable. However, for large exterior panels like bumpers, hoods, and fenders, precision is critical.
Color matching, surface prep, and curing require specialized equipment (like spray booths and infrared curing lamps) that most home garages don't have. A poor result not only looks unprofessional but can also lower your resale value. That's why many drivers skip the hassle and choose pre-painted replacement parts.
At Painted Auto Parts, panels are professionally prepped, color-matched, and finished for durability - all you need to do is install the part. This option saves time, avoids costly mistakes, and guarantees a factory-quality look without the trial and error of DIY.
Final Thoughts
Learning how to paint car parts is as much about preparation as application. Success depends on understanding the specific material, creating a clean and safe workspace, and applying products in the right order. Each stage from cleaning and sanding to priming, painting, and curing plays a decisive role in durability and appearance.
For drivers seeking replacement parts ready for paint or already pre-finished, Painted Auto Parts offers a reliable source. With a wide selection, expert support, and efficient shipping, it provides everything needed to restore or upgrade a vehicle with confidence.
FAQs
Can I paint car parts without professional equipment?
- Yes, aerosol automotive paints work for smaller jobs, though spray guns offer better coverage and control for larger panels.
Why does paint sometimes peel after application?
- Peeling usually results from poor surface preparation, skipped priming, or incompatible paint layers. Proper cleaning and product matching prevent this.
How long should I wait before polishing a freshly painted part?
- Polishing is safest after the paint has fully cured, typically two to four weeks, depending on the paint system and curing environment.