


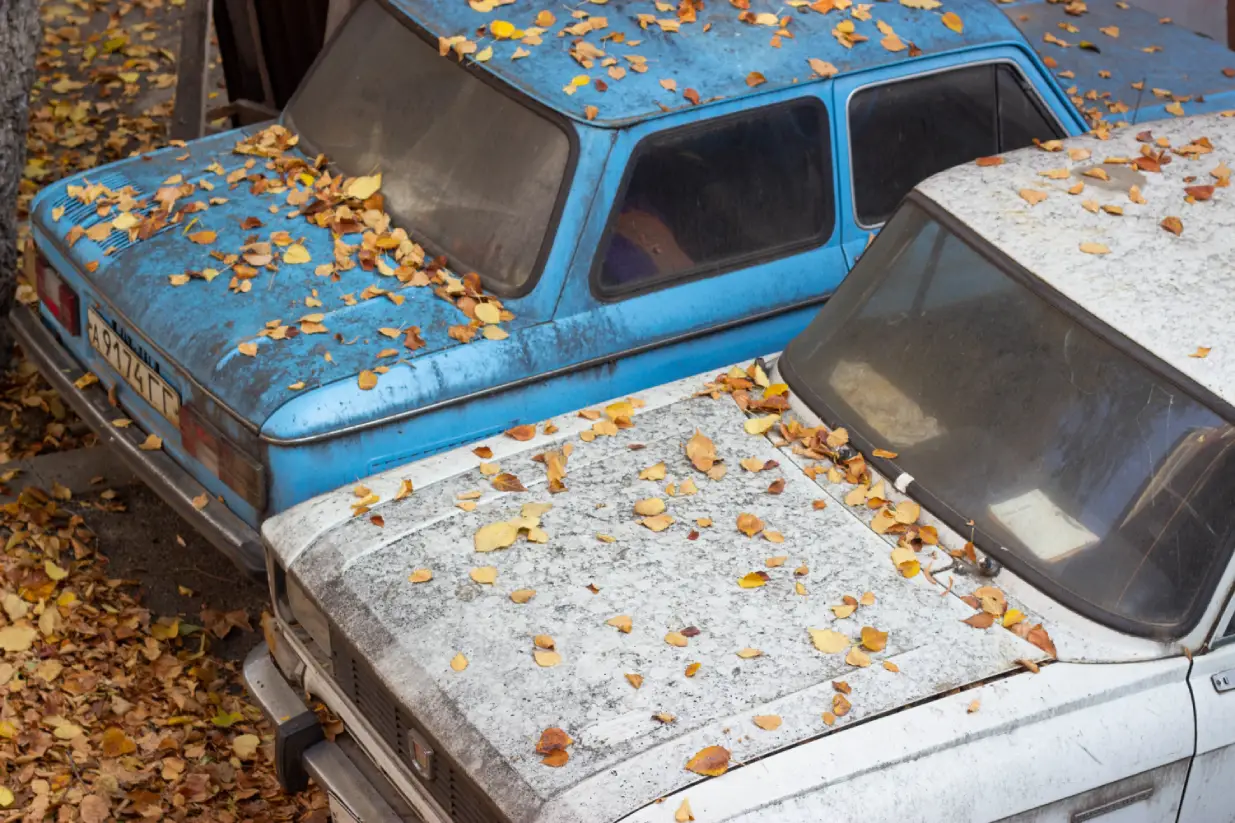
Tree sap is more than a sticky annoyance, it's a real threat to your car's exterior. Drivers who park under trees often discover small, amber-colored blobs clinging to their paint, windows, or trim. While these spots may seem harmless at first glance, they can quickly bake onto the surface, becoming increasingly difficult to remove.
Worse, improper cleaning methods can cause more harm than good. This guide will walk you through how to remove tree sap from your car without damaging paint, using a safe, thorough, and well-structured approach.
Key Takeaways
- Tree sap hardens quickly and chemically bonds to automotive clear coat.
- Rushing removal or using the wrong tools can scratch or dull your paint.
- Using proper solvents and microfiber cloths ensures safe sap removal.
- A complete process includes cleaning, softening, removing, and re-protecting.
- Early intervention minimizes damage and prevents permanent staining.
Understanding Tree Sap and Its Effects on Car Paint
Tree sap is a complex organic compound that creates a unique challenge for car care. It bonds quickly to painted surfaces, and when exposed to sunlight, it hardens into a stubborn residue that doesn't wash away with soap and water. Recognizing the nature of sap and its effect on automotive paint is essential before attempting any removal.
Composition of Tree Sap
Sap is made up of sugars, water, amino acids, and resins. The resin component is particularly sticky and durable, especially from pine and fir trees. As it cures, it becomes chemically resistant to basic cleaning agents and gains a glass-like hardness.
This chemical complexity is what makes sap so difficult to dissolve once it has dried on a car's surface.
How Tree Sap Adheres to Car Surfaces?
When tree sap lands on a car, it seeps into the pores and micro-cracks of the clear coat. Over time, heat from the sun accelerates the curing process, effectively baking the sap onto the surface. This results in a bond that normal washing methods cannot break.
Even worse, as the sap contracts, it can pull on the paint beneath, further compromising the finish.
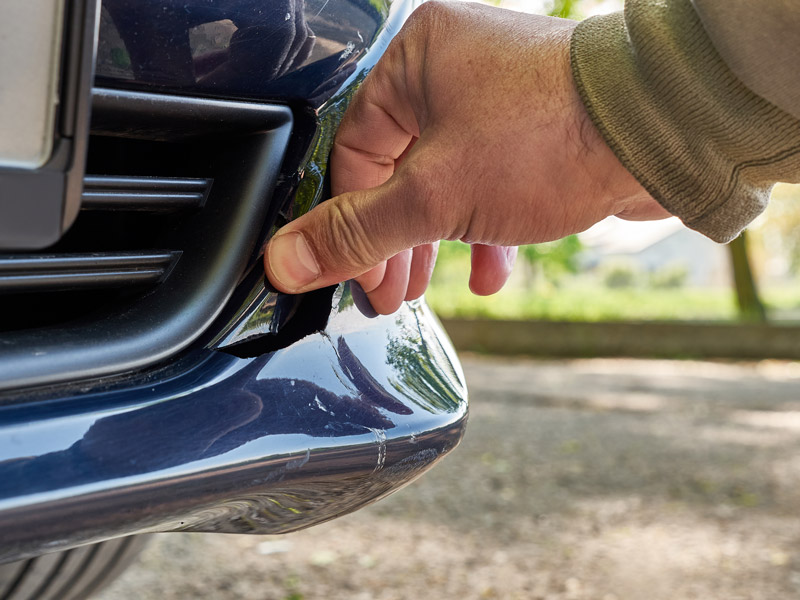
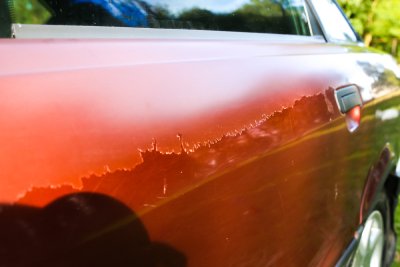
Potential Damage to Paint if Not Removed Properly
If left untreated, tree sap can etch into the clear coat, causing cloudy spots, discoloration, and in some cases, peeling.
Using aggressive removal methods, such as scraping with hard objects or applying harsh chemicals, can introduce swirl marks or remove layers of protective coating. Over time, neglected sap deposits can degrade the vehicle's appearance and even lower its resale value.
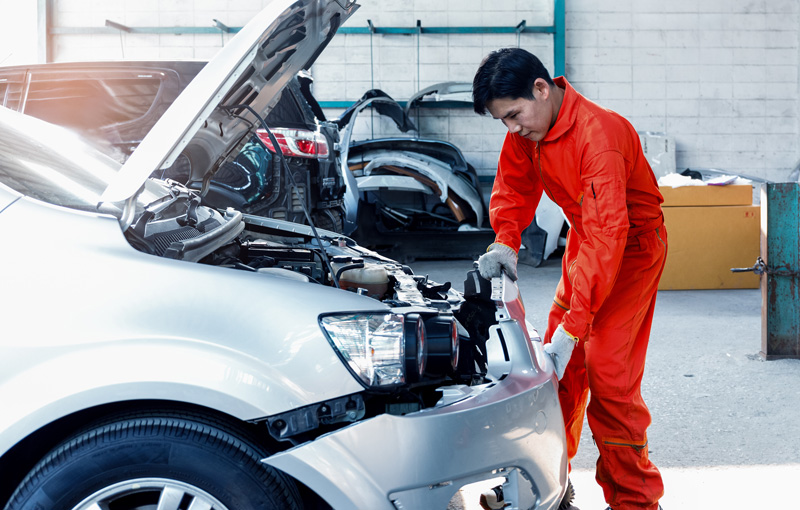
Essential Tools and Materials for Removal
To avoid damaging your car's paint, you need the right tools and cleaning agents. Not all products are safe for automotive finishes, and improvising with the wrong materials may cause permanent harm. Using dedicated tools ensures efficiency and safety during the process.
Recommended Cleaning Supplies
The safest and most effective cleaning supplies for removing sap include isopropyl alcohol, white vinegar, and commercial tree sap removers specifically designed for automotive use. Rubbing alcohol softens hardened sap without affecting the clear coat, while vinegar is a gentler solution suitable for fresher spots.
Commercial removers often contain solvents engineered to dissolve resin quickly. Additionally, high-quality microfiber cloths are essential for wiping the area clean without scratching the surface.
Safety Equipment
Although tree sap removal isn't dangerous, basic safety measures help protect your skin and car. Gloves shield your hands from repeated chemical exposure, especially when working with alcohol or sap removers.
Eye protection prevents accidental splashes when applying solvents or wiping the surface. These precautions ensure the process remains clean and safe, even over extended periods.
Step-by-Step Guide to Safely Remove Tree Sap
Proper removal of tree sap is a multistep process designed to eliminate the resin without harming the paint. Each phase, from assessment to final polishing, builds on the last to restore your car's surface while minimizing the risk of damage.
Step 1: Initial Assessment of the Affected Area
Begin by inspecting the sap spots. Are they fresh and tacky, or hardened and brittle? Fresh sap can usually be removed with gentle agents, while older spots may require commercial removers.
Look closely for any staining or discoloration, which may indicate that the sap has already affected the paint. Taking time to assess the condition of the deposit helps you choose the most appropriate removal method.
Step 2: Pre-cleaning the Surface
Before treating sap directly, wash the surrounding area with a mild car shampoo and water. This removes dust, dirt, and particles that could cause scratches during the removal process. After washing, dry the panel with a clean microfiber cloth, ensuring the sap is fully exposed and ready for targeted treatment.
Step 3: Application of Chosen Removal Method
To remove tree sap safely, select the appropriate method based on the sap's age and severity.
As we already discussed, there are a few methods that you can use:
- Using Rubbing Alcohol: Apply a small amount of isopropyl alcohol (70-90%) to a microfiber cloth and place it over the sap spot. Let it sit for 30-60 seconds to soften the deposit. Gently rub the area in small circular motions until the sap lifts away. Repeat if necessary, and always rinse the area afterward to neutralize any remaining solvent.
- Using Vinegar: White vinegar is less aggressive than alcohol and ideal for newer sap deposits. Soak a section of a microfiber towel in vinegar and press it against the sap for about a minute. Then rub gently until the sap is removed. This method may take more time but reduces the risk of clear coat dulling.
- Using Commercial Sap Removers: Spray or dab the product onto the sap as directed. Let it dwell for the recommended amount of time, then use a microfiber cloth to wipe the area clean. Commercial removers are particularly effective for hardened sap and often require less effort. Be sure to rinse the surface after use to remove any chemical residue.
Step 4: Final Cleaning and Polishing
Once the sap is gone, rewash the treated area with car shampoo to remove any traces of solvent or remover. Dry thoroughly, then apply a mild polishing compound to restore the surface's shine and clarity. Finish with a high-quality wax or sealant to protect the area from future contaminants and enhance resistance to sap bonding.
Final Thoughts
Tree sap may seem like a simple problem, but if not handled correctly, it can lead to lasting paint damage and costly repairs. With the right materials, a cautious approach, and attention to detail, you can remove even stubborn sap without compromising your car's finish.
Early action and the use of appropriate products will always yield the best results. For long-term protection, consider waxing your car regularly and avoiding parking under sap-producing trees when possible. With these strategies, your vehicle will stay clean, polished, and free from organic contaminants.
FAQs
Can I use a razor blade to remove hardened sap?
- No. Using a blade can easily scratch or gouge the paint. Always soften sap with solvent before wiping.
How do I know if sap has damaged my paint?
- Look for cloudiness, staining, or dull spots after removal. These may require light polishing to correct.
Is it okay to use household cleaners like WD-40 or acetone?
- Avoid these. They can dissolve protective coatings or stain paint. Stick to alcohol, vinegar, or dedicated sap removers.